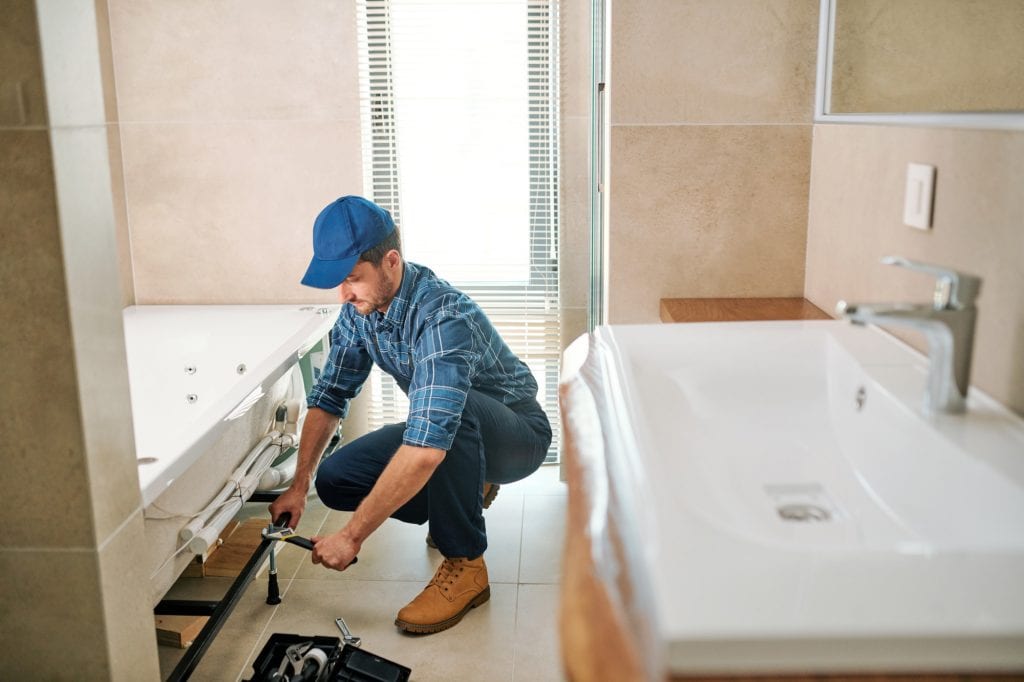
Tub repairs in acrylic bathtubs are not only possible, but they’re also very common throughout northern Utah!

A lot of northern Utah households have fiberglass and acrylic bathtubs. Why? Because these tub materials are durable, aesthetically pleasing, and affordable. However, anyone who’s owned an acrylic bathtub will let you know that these tubs are sometimes prone to cracking over time.
The Beehive team supports countless properties with our comprehensive tub repair services, which means we can help you repair any chips, nicks, cracks, or holes with our state-of-the-art tub repair kits and sealing products. Our specialists know what’s best for your bathtub, but it’s also possible to conduct a DIY tub repair when your repair is smaller than 6mm in size.
Below are the necessary steps that either you or our Master Plumbers will conduct when your acrylic bathtub needs to be repaired!
Preparing The Bathtub’s Surface
This first step will require a thorough cleaning of the tub’s defect, as well as the surrounding area around the defect. The main purpose of this cleaning is to get rid of any dirt or dust that may later impact the repair’s aesthetics and durability.
After you’ve thoroughly cleaned your bathtub, you’ll need to let it completely dry before you can proceed to the next step.
Applying Light Cure Acrylic
Light Cure Acrylic (LCA) is an incredible tub repair material for any chips, gouges, scratches, or nicks in many different materials—including fiberglass and acrylic tubs used in residential bathrooms. LCA™ is a non-epoxy, completely safe, and non-toxic go-to material for plumbing companies all over the world.
All you need to do is apply a small amount of the repair acrylic to the crack. However, it’s incredibly important not to overfill the defect and to ensure a perfect curing process. This is why professionals should handle any defects larger than 6mm. The same goes for smaller defects when you’re not quite sure how to use these types of tub repair products!
Adding a Curing Strip
Next, place a curing strip on top of the uncured LCD™ that you just applied. Most plumbers use a small paint stick to gently push the curing strip onto the damaged tub area. When tub repairs are rather large, other materials can be substituted—like clear packing tape.
This curing strip will help ensure that the repair material is held in place.
Curing With LED Light
The trick with LED curing lights is to focus the blue light right above your recently placed curing strip. It’s important to remember that the LED™ won’t cure on its own, and the amount of LED exposure that you’ll need to implement will largely depend upon the extent of your bathtub damage.
A good starting point is around 5-7 minutes of LED light curing, and you should always test the hardness of the cure prior to removing the curing strip. It’s also important to remember that additional LED exposure may be necessary for larger tub damages, and you should focus your LED light on different sections of the defect in order to ensure a thorough cure.
Removing the Curing Strip
The next acrylic bathtub repair step is to remove the curing strip and verify whether or not a complete cure has occurred. If there are still signs of tackiness after the LED light exposure, try gently wiping rubbing alcohol on the repaired surface.
Sanding
Next, use sandpaper to remove any excessive or overfilled material. The best sanding technique entails rubbing in very gentle circles. It’s important to be careful while sanding acrylic bathtubs because it’s possible to scratch softer surfaces when sanding too aggressively.
Polishing
The last step of the process entails a gentle application of polishing paste on the repaired area to create a maximum, acrylic shine!
Reach Out To Beehive Plumbing When You Need A Tub Repair For Your Acrylic Bathtub!
Beehive Plumbing is here to help you with any and all tub repair projects, and we’ve supported hundreds of bathrooms with acrylic bathtubs.
Contact us online or call us at 801-849-3852 to schedule your next tub repair appointment today!