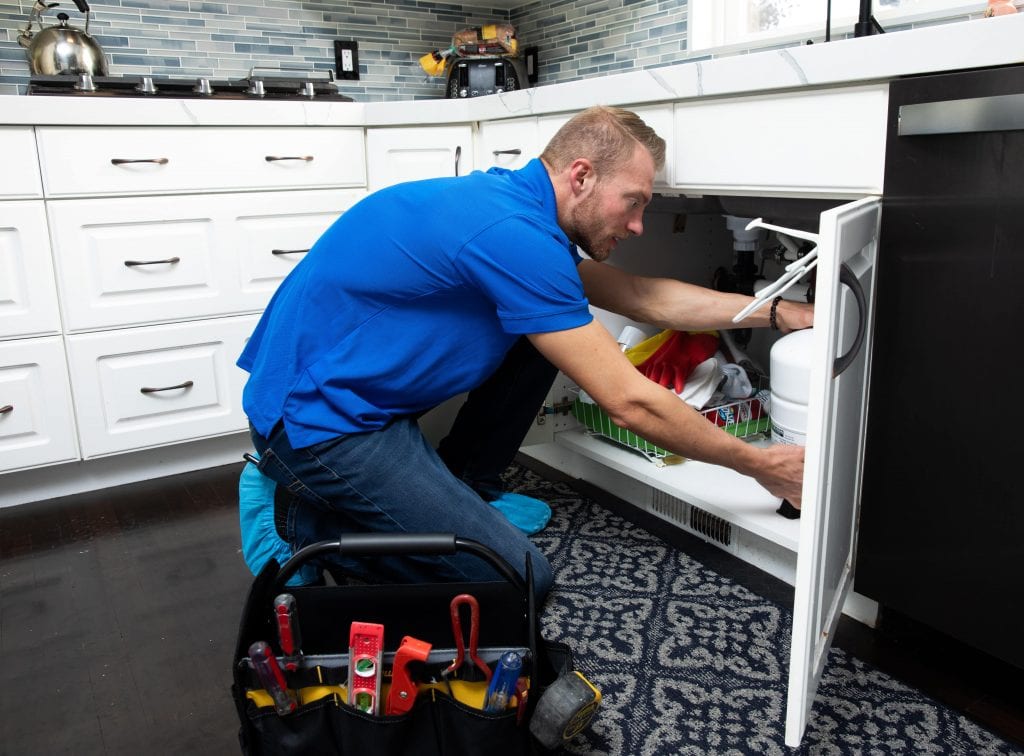
Although industry specialists should handle the vast majority of plumbing repairs, there are some DIY tricks that homeowners should keep in mind to help prevent plumbing problems!

Although there’s no denying that most plumbing issues will be very time-consuming and require professional attention, the Beehive Plumbing team is always more than happy to support home and business owners throughout Northern Utah with both big and small plumbing repairs.
We also understand how important it is for homeowners to conduct their own preventative measures to ensure the overall vitality of their plumbing system, and our team is here to help you better understand what is appropriate to conduct as a DIY home improvement project.
So when it comes to routine plumbing upkeep, there are many things that homeowners can do to better ensure that they’re doing their part to prevent serious issues in the first place. Below are nine plumbing repair hacks for the DIY homeowner that you should know about!
1. Knowing Where Your Emergency Shutoff Valve Is Located
This is an important plumbing hack that you and your kids should know about, because there are plenty of plumbing emergencies that require an immediate shut off of your entire property’s water supply. Some common examples of these emergency situations are an overflowing toilet or busted pipe.
So simply understanding exactly where the shutoff valves are for your plumbing fixtures, as well as your main water shutoff valve, will help you out tremendously when it comes to avoiding structural damages and potentially costly cleanup scenarios!
2. Garbage Disposal Tips
A lot of homeowners don’t have as good of an understanding as they should when it comes to their kitchen’s garbage disposal, which is why reviewing garbage disposal basics is an important step to avoid blockages and other types of costly sink plumbing repairs.
The following is a list of things that should NEVER go down your garbage disposal:
- Grease, oil and other food fats
- Bones
- Coffee grounds
- Eggshells
- Fibrous foods, including things like sprouts, asparagus or celery
- Starchy foods, including pasta, rice, peels or beans
- Non-food items
3. Clearing Out Disposal Clogs
While we’re on the subject of your garbage disposal, let’s go over some tips about how you can conduct a thorough garbage disposal clog removal. The following are some steps to keep in mind when trying to de-clog your garbage disposal:
- Turn the garbage disposal off, which means turning the circuit breaker off or unplugging it.
- Thoroughly inspect the inside of your garbage disposal with a flashlight, and remove any obvious clogs if you can see them with a sturdy tool. Just don’t use your fingers!
- Utilize a sink plunger if you don’t notice any obvious clogs, which will require filling the sink with at least a few inches of water prior to actually plunging.
- Try out a DIY drain cleaner like baking soda and vinegar, and then plug up the drain to let the cleaning agents work at full functionality.
- Turn your disposal back on and see the results!
4. Properly Cleaning Your Garbage Disposal
There are many different DIY cleaning methods when it comes to maintaining the integrity of your garbage disposal’s blades, as well as eliminating any unwanted odors emanating from your disposal.
One tip that we have is to place a lemon peel and several ice cubes down your disposal every now and again, and then run the disposal. Be sure to run the disposal without water for around 30 seconds, and then run water with some dish soap for another 30 seconds.
This will help you sharpen your disposal’s blades while at the same time eliminating any gross smells!
5. DIY Drain Cleaning
There’s no doubt about it that drain cleaning can quickly become very complicated as a DIY project, and it’s a simple truth that over-the-counter drain cleaners are terrible for your plumbing system! These chemical products will corrode your pipes and give you much more serious issues, which is why we actually recommend a DIY drain cleaning product for homeowners as opposed to harmful commercial cleaning products.
Try pouring boiling water down your clogged drain, and then follow this up with about a ½ cup of baking soda. Let the baking soda sit within the drain for around 5 minutes and then pour a full cup of vinegar down the drain. Plug the drain up if possible and wait another 10 minutes, and then flush the solution down with warm water.
6. Toilet Clogs
Although toilet repairs are pretty serious plumbing situations that you’re more than likely going to need to put in experienced hands, there are plenty of prevention methods that homeowners can conduct on their own. The first thing you should always do is have an adequate plunger ready to go that’s next to each of your home’s toilets.
Time is typically of the essence when you’re experiencing a toilet clog or overflowing toilet, so you’ll want to be sure that you have a plunger on hand when these situations arise. This is another plumbing emergency scenario in which you and your children should know exactly where the toilet’s shutoff valve is located.
It’s also possible that hot water can help resolve a toilet clog, and sometimes when you add a little soap with hot water you can effectively eliminate a pesky clog.
7. Leak Detection Tips
There are plenty of warning signs that homeowners should be on the lookout for when it comes to a potential leak within their residential plumbing system, including things like an unexpectedly high water bill, low water pressure, signs of mold and other damages.
But one of the biggest issues that homeowners face is knowing exactly where their leak is located, and this is partly because leak detection is a very intricate and tricky process!
The first thing you can do from a DIY standpoint is turn off your entire home’s water supply and then go to your water meter for a reading, and then another reading after a few hours of waiting. If your water meter indicates water usage, then it’s a clear warning sign that your property is experiencing a serious leak.
This is typically when you’d need to call in the Beehive Plumbing specialists to locate and resolve your plumbing leak as quickly as possible.
8. Shower Water Pressure Issues
There’s nothing quite as annoying as dealing with low water pressure in your shower, but you may be surprised by just how easy this type of plumbing fix can be. Although it may be best to reach out to plumbing specialists to get to the bottom of your water pressure issues, you may just need to thoroughly clean out your showerhead.
One good DIY showerhead cleaning method is to put vinegar in a plastic bag and then place the showerhead in the bag overnight. You’ll be surprised by just how far this cleaning method can go with water pressure issues, but of course there are other causes of low water pressure that require professional care.
9. Tightening Your Pipes
It’s common for a home’s pipe threading to become loose over long periods of time, and this thread loosening can potentially lead to leaks. Here are our tips for a really quick and easy DIY pipe tightening procedure:
- Turn off your property’s water supply
- Unscrew any pipes that are leaking
- Wrap a thin layer of masking tape around the pipe’s threads
- Screw the pipes back together
Of course this type of household plumbing project really does border the line of an appropriate DIY procedure, so always feel free to reach out to our Master Plumbers when you’re in need of proper pipe tightening.
Reach Out To Beehive Plumbing To Learn More About Our Many Different Plumbing Repairs
Beehive Plumbing has supported countless homes throughout Northern Utah with a whole variety of plumbing repairs, and our team of specialists will always be there to support you no matter how big or small of an issue you’re currently experiencing.
So contact us online or call us at 801-661-8155 to get in touch with our industry experts who will be more than happy to come check out your residential plumbing system!


